Sharpening by halo maps
Sharpening considerations
Suppose you have an image open in Photoshop, fully corrected, looking like you want it to look. For simplicity, suppose that it has no layers other than a Background layer. The only thing left to do is sharpening. How to proceed?
The simplest is to invoke Menu: Filter – Sharpen – Unsharp Mask, fill in the parameters that you think suit your image best, and hit OK. This applies the sharpening directly to the background layer. Do you find out later that your sharpen settings were too strong, there is no way to recover, except by undoing the work and start over again.
A better way is to sharpen on a separate layer. First copy the background layer, and then repeat the above steps on that layer. This provides considerable extra flexibility. Should the effect appear too strong overall, reduce opacity of the layer. Is it too strong in certain image areas but okay elsewhere, add a mask. And last but not least, the blend mode can be changed to Luminosity to prevent color shifts like I showed in the article explaining the basics of the unsharp mask filter.
Isolating the halos
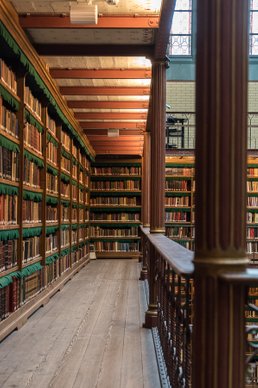
Library
But we can go further. Remember that the Unsharp Mask (USM) filter just strengthens edges. Light sides of edges get even lighter, dark sides even darker. The resulting artifacts are often called light and dark halos.
Now look carefully at a strongly sharpened file, and you will notice that light halos are more noticeable than dark ones. On a given file, one may well assess that the dark halos could even be stronger, but the light halos should better be toned down. For that reason, the sharpening layer should preferably be split into two layers: one for the light and one for the dark halos - so they can be controlled independently of each other. Also, and related to that, it would be nice to limit the sharpen layers to the pixels that really change, and leave others untouched.
This concept of having two sharpen layers that just do what’s needed – darken some pixels and lighten others – is the purpose of this tutorial.
Note that I haven’t devised any of this. I first learned about the idea of sharpening by a set of halos in the book Modern Photoshop Color Workflow by Dan Margulis. Some websites mention it briefly. But as far as I know, there is no detailed instruction about how to construct them. So, let me fill that gap.
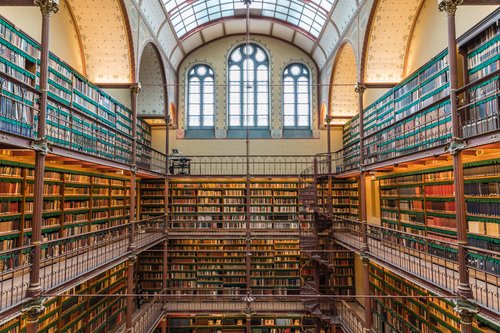
Figure 1. Original image
The tutorial part 1: Dark halos
We start with any Photoshop file, RGB coded. It doesn’t have to be flattened. See figure 1 for my example image.
- Create a composite layer above the current layer stack. That is, activate the top layer and hit Ctrl-Alt-Shift-E. (If there is only one layer, a simple copy is good enough.)
- Call this new layer “Sharpen basis”.
- Copy the “Sharpen basis” layer and call the result “Sharpen 500% 1.5 px”.
- On the top layer, apply USM, 500%, 1.5 pixels and Threshold 0. For noisy images, pick a higher Threshold, typically something between 1 and 10.
- Set the top layer to blend mode Subtract.
The result is a strange-looking, almost black version of the file. See figure 2 for a fragment and current layer stack.
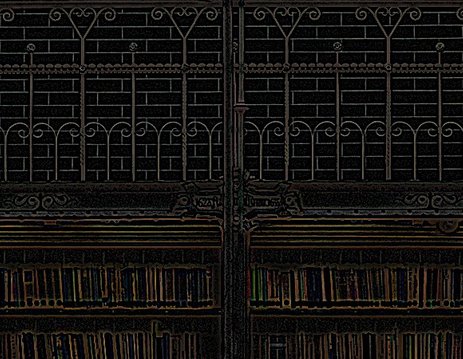
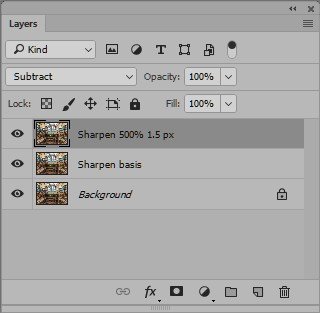
Figure 2. Fragment of intermediate result and layer stack
Let’s find out what we are looking at now.
The Subtract blend mode – guess what – subtracts pixel values of the top layer from those of the layer underneath it. Negative values are not allowed – hence, where a pixel value in the top layer is “bigger” than what’s below it, the resulting value is 0. Where it is “smaller”, the result of Subtract is the difference between the two.
“Bigger” in this context means: higher RGB values, i.e. lighter pixels. The light halos of our sharpened layer are zeroed out. Dark halos however are retained in the difference. Pixels that don’t change by the USM get black too. The almost black figure above is what's called a halo map, here representing the dark halos. We now have to preserve the current result in a dedicated layer.
- From the top layer, create another composite layer (Ctrl-Alt-Shift-E). Call this “Dark halos”.
- Desaturate the “Dark halos” layer (Menu: Image - Adjustments - Desaturate or Ctrl-Shift-U). We have to prevent color changes.
- Delete the “Sharpen 500% 1.5 px” layer.
- Hide the “Dark halos” layer.
See figure 3 below for the layer stack as it looks now. The image itself looks as the original.
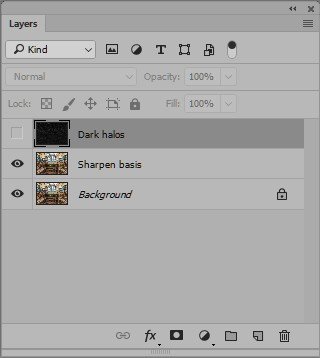
Figure 3. Layer stack after part 1
The tutorial part 2: Light halos
- Again, copy the “Sharpen basis” layer. Call the result “Sharpen 250% 1 px”.
- On this new layer, apply USM, 250%, 1 pixel and Threshold 0. For noisy images, a higher Threshold may be preferable, but rarely higher than 5.
It may be clear that we are now preparing the Light halos. The difference in sharpen parameters is one of the crucial elements of this tutorial. The action is applied at half amount and two thirds radius compared to what established the dark halos.
We now have a sharpened layer above a non-sharpened one, but the Subtract trick doesn’t work to expose the light halos. We have to swap the two layers and then subtract.
- Move the “Sharpen basis” layer above the “Sharpen 250% 1 px” layer.
- Now change blend mode mode of the “Sharpen basis” layer to Subtract. We are now subtracting the other way round, hence the result is showing only light halos, albeit in a very dark file. See figure 4 for the intermediate state of affairs.
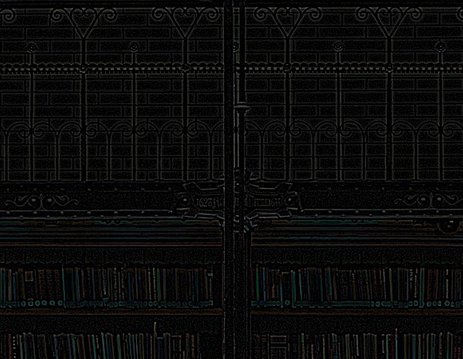
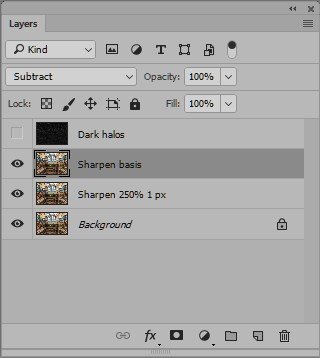
Figure 4. Fragment of intermediate result and layer stack
- Create another composite layer and call it “Light halos”.
- Desaturate the “Light halos” layer.
- Remove the “Sharpen 250% 1 px” layer and the “Sharpen basis” layer.
- Unhide the "Dark halos" layer.
We now have two layers, one for the dark halos and one for the light ones. Very good! We only have to get them to do what they’re supposed to do.
The tutorial part 3: Getting the work done
First, the "Dark halos" layer. Remember that this layer shows pixels that were darkened by the sharpen filter. To recover this darkening function, we have to subtract the pixel values of the "Dark halos" layer from what's underneath. Black pixels have no effect, non-black pixels force darkening where it's needed.
For the light halos, a similar reasoning can be applied. Here we have to add pixel values to what's below.
We have already seen the blend mode for subtract. The opposite – add – is called Linear Dodge (Add). So now we know what we have to do.
- Set the blend mode of the “Dark halos” layer to Subtract. Change opacity to 50%.
- Set the blend mode of the “Light halos” layer to Linear Dodge (Add). Change opacity to 50%.
- For convenience, create a group called “Sharpen halo maps” comprising the two halos layers.
That's it. See figure 5 for a comparison of original and sharpened versions, and figure 6 for the final layer stack.


Figure 5. Fragments of the original and sharpened versions
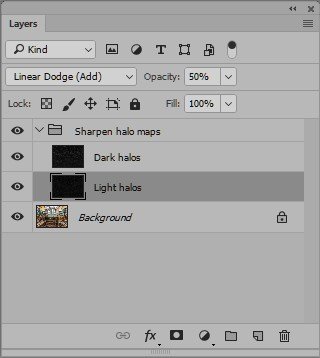
Figure 6. Final layer stack
Closing considerations
So… what have we accomplished now? Let’s see:
- The sharpening is separate from the underlying layers. In our example. the background layer is untouched, so all sorts of fine-tuning are possible.
- Light and dark halos each have their own layer, so they can be manipulated independently.
- Both layers have opacity 50%, so each can be either toned down or strengthened.
- Pixels that are not touched by the sharpening, are in fact ignored by the two layers. Well, they are black, meaning that 0’s are added or subtracted to/from the underlying image layers.
Item 4 deserves further explanation. Imagine the situation that we carefully sharpened a file and then decide that some minor fixing needs to be done afterwards. Not on the sharpen layers, but on the image itself. A color fix, a small retouch, whatever. If we had used a normal pixel layer and applied USM on that, the sharpening should have to be redone, at least for the changed image area.
For the layers as created in this tutorial, it depends. Color changes in general, and minor fixes in particular, may not require a rebuild of the sharpen layers. After all, the two "halos" layers only specify: here pixels need to be darkened, there lightened. Chances are that such specifications remain valid after a small fix.
Of course, I have made a Photoshop action available for download which executes all above steps automatically. You can find it on the Downloadable actions page. Feel free to use it.
Gerald Bakker, 12 Dec. 2017
Tutorials and Actions